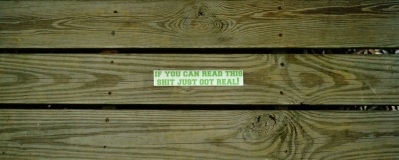
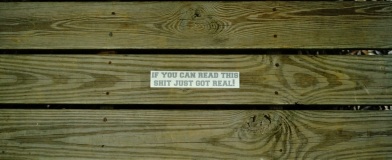
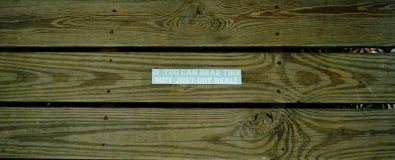
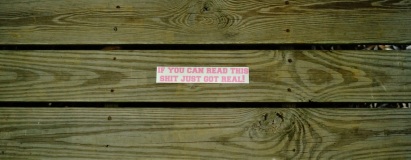
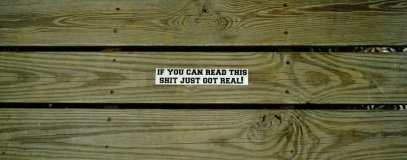
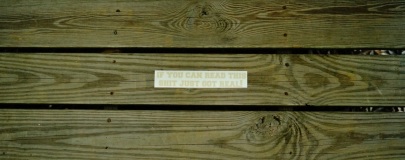
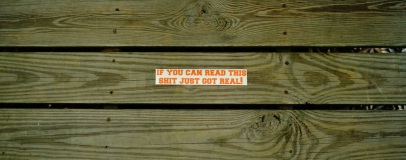
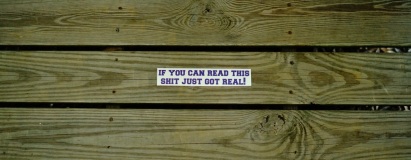
Sh!t Got Real! vinyl decal
SKU:
$5.00
$5.00
Unavailable
per item
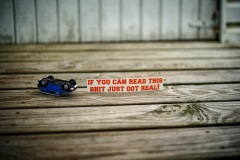
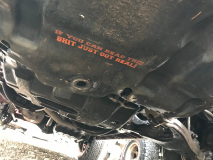
We've all had those moments on the trail or the road, where Sh!t Got Real. Why not have fun with it and if sh!t gets to real, you'll have a sticker to prove your dedication. Not only do we make these, but we also lived that "Sh!t Got Real!" moment when we flipped the FJ during a freak snow storm we encountered in Oregon.
We take product testing seriously here at Bourn Adventure. We wouldn't expect you to show a decal/sticker off that we wouldn't!
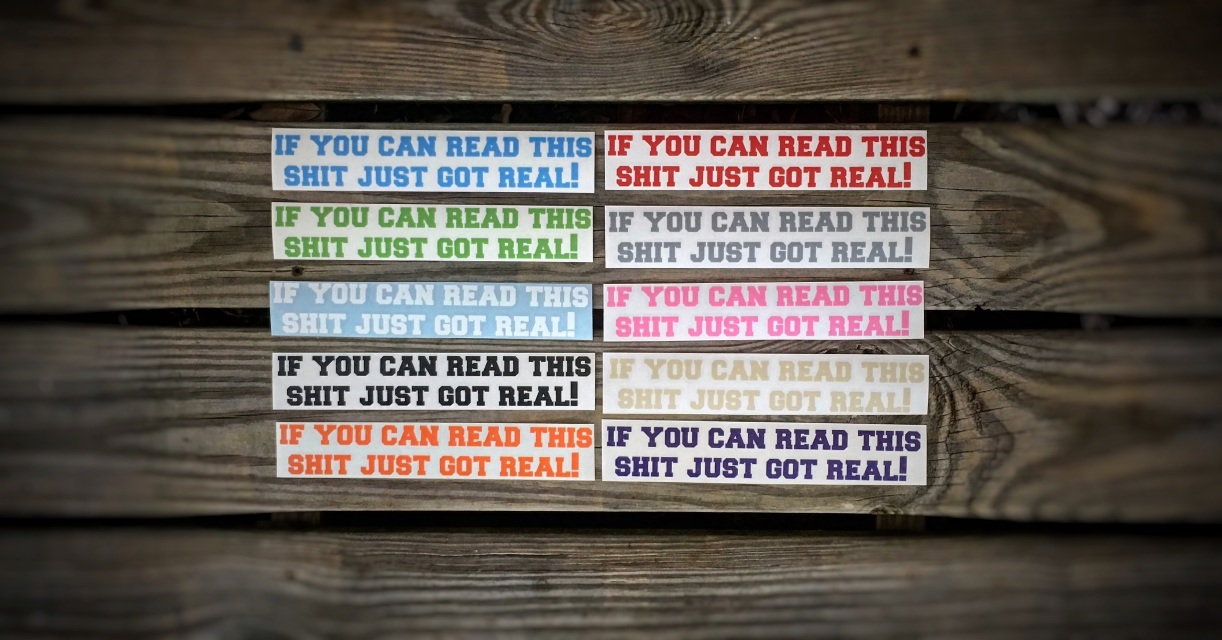
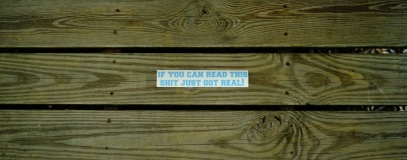
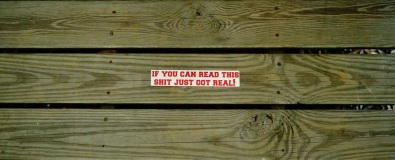
The Sh!t Got Real! decal is made from high-quality vehicle vinyl. It measures approximately 9.25" wide and 1.5" tall. It is available in the following colors:
●Blue ●Red ●Green ●Cement Grey ●White
●Pink ●Matte Black ●Tan ●Orange ●Purple
Bourn Adventure Gear / #RocktheBAG
Additional information: Vinyl stickers are very durable, low maintenance, and long lasting. They can be placed on just about any surface (metal, plastic, glass, small children, ect), but some finesse is required when applying the decal. It is recommended that the surface is free of dirt, grease or other debris before installation. We like to use rubbing alcohol to clean the area before placing decals on our vehicles. Lastly, we recommend not scrubbing directly on the decal with a cloth or other material used when washing your vehicle. Although these decals are durable, they can be damaged, especially around the edges or smaller detail areas.
Installation: 1. Clean and dry the surface. 2. Peel the paper backing off, leaving the decal on the transparent application tape. 3. Apply the decal, starting from one side and working to the other. 4. While the application tape is still on, take a flat object (credit card, drivers license, ect) and rub it over the decal. This helps remove possible air bubbles and allows the decal to adhere better to the surface. 5. Remove top application tape. 6. Stand back and admire the awesomeness!
Installation: 1. Clean and dry the surface. 2. Peel the paper backing off, leaving the decal on the transparent application tape. 3. Apply the decal, starting from one side and working to the other. 4. While the application tape is still on, take a flat object (credit card, drivers license, ect) and rub it over the decal. This helps remove possible air bubbles and allows the decal to adhere better to the surface. 5. Remove top application tape. 6. Stand back and admire the awesomeness!

